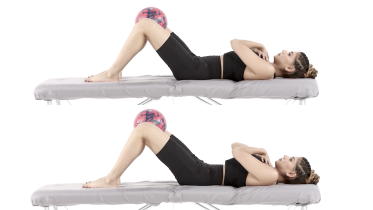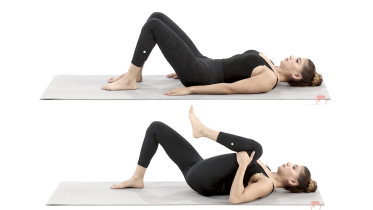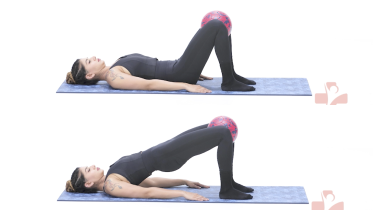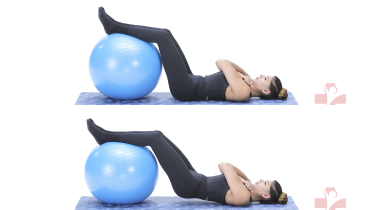
Figure 4 glute bridge
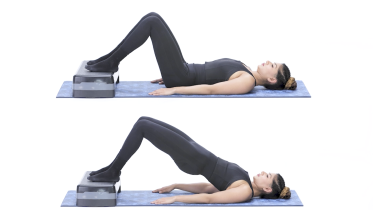
The figure 4 glute bridge is a one leg bridge with the other ankle crossed over the working knee, so your legs make the shape of a 4. In the video the working foot rests on a low exercise step. One buttock does nearly all the lifting, which makes it a good deal harder than a two leg bridge. It usually comes after the single leg bridge feels steady.
How to do the figure 4 glute bridge
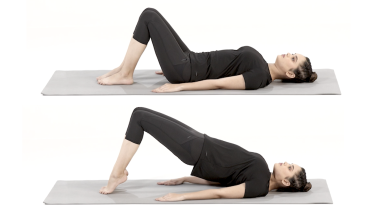
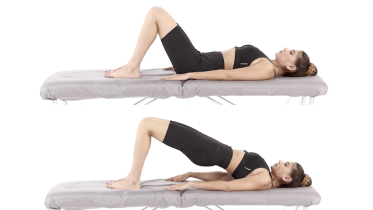
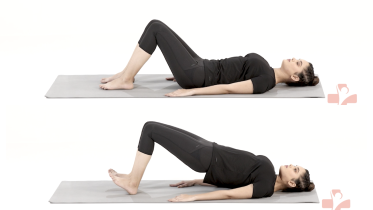
- Set a low, sturdy step at the end of your mat. Lie on your back with both feet flat on the step and your knees bent. Arms rest by your sides with the palms facing down.
- Lift one leg and lay its outer ankle across the other thigh, near the knee. Let the crossed knee open out to the side.
- Gently tighten your stomach. Then push the whole foot into the step, heel included, as you lift your hips off the mat.
- Stop when your shoulders, hips and the knee of the working leg form a straight line. Keep both sides of your pelvis level.
- Hold for a few seconds, then lower your hips slowly back to the mat. Finish the set, put the crossed foot back on the step and work the other leg.
What you should feel
Hard work in the buttock and the back of the thigh of the leg on the step. You should feel little or nothing in your lower back.
Common mistakes
- Lifting past a straight line, so the lower back arches.
- Letting the hip on the crossed side sag, which tilts the pelvis.
- Rising onto the toes. Keep the heel pressing into the step.
- Setting up on a step that can slide. Check it sits firmly before you lie down.
How often
Many programs start with 1 to 3 sets of 6 to 10 lifts on each side, holding each one for 2 to 5 seconds. Your physio will adjust this.
Stop and check with your physio if
- Cramp or a sudden sharp pull at the back of the thigh. Lower your hips, then uncross your legs and straighten them.
- Pain in the lower back, hip or knee instead of muscle work.
- Pain, tingling or numbness running down a leg.
From the clinic
This one is hard. Get the single leg bridge steady first, and try the bridge with feet on a step to get used to the raised foot. If the back of the thigh cramps, move the step a little closer to your bottom. The voice guide describes a line from shoulder to ankle at the top, but the video shows the usual bridge line through shoulders, hips and knee, so aim for that.
If you have had a hip replacement, get the go-ahead from your surgeon or physio before you try this bridge. Resting the ankle on the other knee crosses the legs and turns that hip outward while it is bent, and many surgeons ask you to avoid that for the first months after some operations. After knee or back surgery, or a hamstring strain, your physio will say when single leg bridging can start. Past the first three months of pregnancy, ask your physio before exercising on your back.
Written and checked by the PocketPhysio editorial team. Last updated 2026-09-26.
This page is general education, not a diagnosis or a personal treatment plan. If you have pain, an injury or a health condition, see a physiotherapist or doctor before starting new exercises.